Images
Summary
Dendron extends regular Markdown image support by allowing custom CSS properties. Images can also be pasted into a note from your clipboard.
Use Cases
- copy/paste images into Markdown text
- customize image size and styles using extended image link syntax
Features
Copy & Paste Images into Plaintext
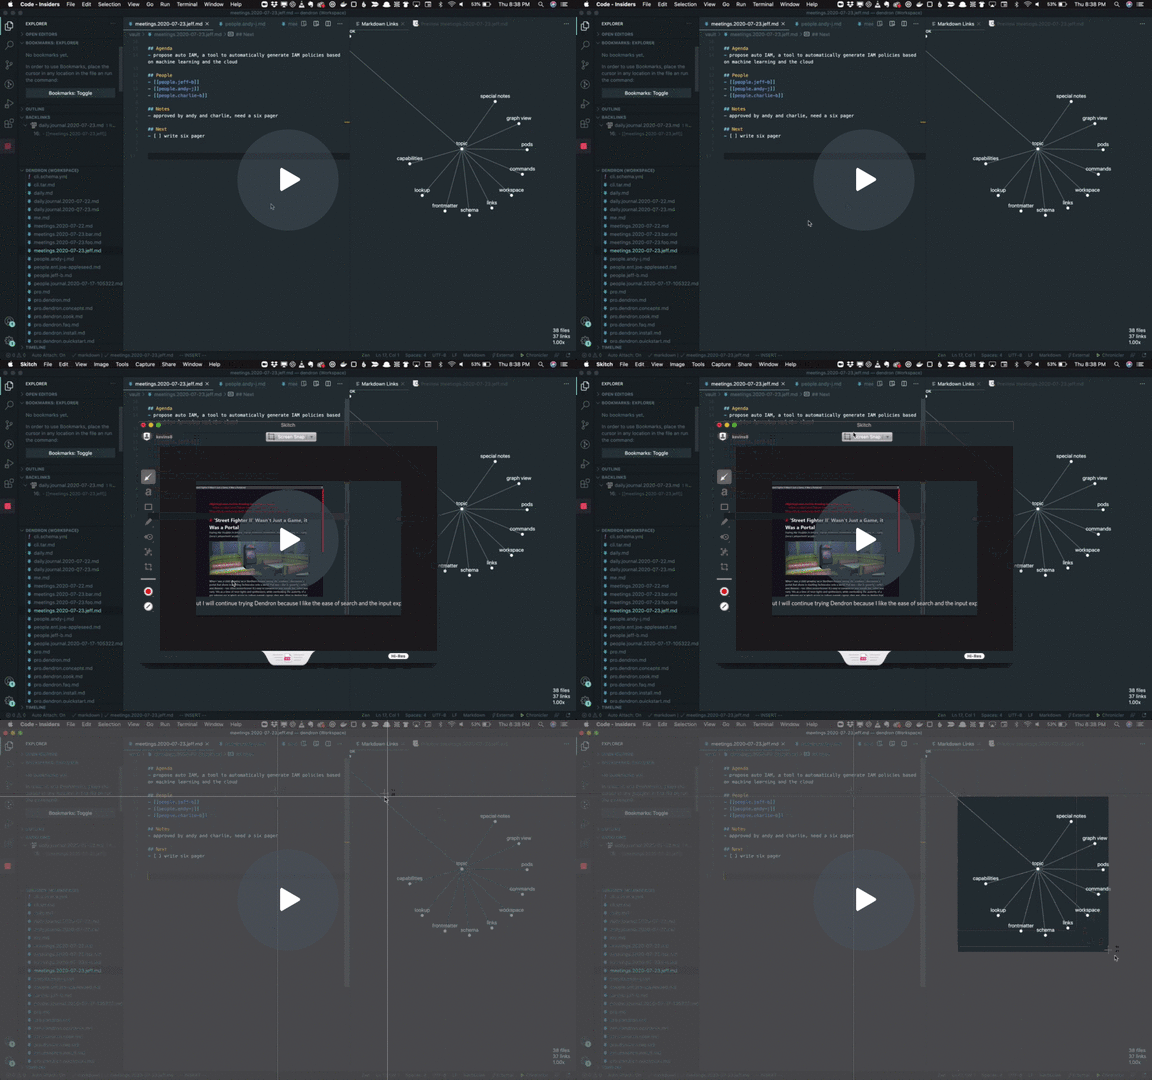
Copy images into the text using the > Paste Image command. This command automatically copies an image from your clipboard to ${currentFileDir}/assets/images by default and adds a Markdown link to the image.
Extended Images
Dendron allows you to extend your images by adding custom CSS properties to them. This can allow you to display an image at a specific size, make it float (text wrapping around image), add a border, or much more. Extended images work both in Preview and in Publishing. See the examples below:
Sizing
You can control the size of the image using width and max-width properties. width sets a fixed size for it, and max-width will set the maximum size but will allow smaller sizes (for example, on mobile). For example:

The code for this is:
{max-width: 300px}
Centering
This image will be smaller, and will be centered in the page.

The code for it looks like this:
{max-width: 300px, display: block, margin: 0 auto}
Float & Border

This image should be floating on the right, allowing text to wrap around it. It will be slightly translucent, and will have a black border around it. The code for it looks like this:
{width: 20%, opacity: 0.7, float: right, margin: 20px, border: 5px solid black}
Transform

This image should be floating to the left, and should have a 3-D effect on it! The code for it looks like this:
{width: 20%, float: left, margin: 2rem 10px, transform: "perspective(150px) rotateY(30deg)"}
One important thing in this example is the transform: " ... " part. Note the quotes: they are optional in most cases, but in complex cases they might be required. We don't have anything to warn you if your YAML is broken for now, but you can check the Preview V2, and the previewed image won't apply the CSS if it's broken.
Options
Allowed CSS properties
For safety reasons, Dendron doesn't allow you to set just any CSS property. Here's a list of ones that are allowed:
- width, min-width, max-width
- height, min-height, max-height
- float
- border
- margin
- padding
- opacity
- outline
- rotate
- transition
- transform
- transform-origin
- z-index
If these aren't enough for you, let us know by sending a feature request and we'll add it.
Getting Started
Link to Locally Saved Images
An easy way to insert a locally saved image to your Markdown note is to do the following:
- Copy / save the image in your
assets/imagesfolder located in your vault, - In Dendron navigate to the note where you wish to input the image(s), and type
. Be sure to replaceImage_DescriptionandFile_Name.pngwith the description of the image and the actual filename - Congratulations! You've inserted your first image.
Copy & Paste an image in Plaintext
Dendron automatically inserts images in your clipboard using the > Paste Image command. The image is saved to ${currentFileDir}/assets/images by default. This feature requires the Paste Image VS Code extension.

Syntax for Extending Images
Extended images are the same as regular images, except that you add CSS properties at the end of it using an inline YAML map. This is simpler than it sounds, it looks like this:
{width: 400px}
At the simplest, this can let you limit the width of the image. You can both set it to a fixed size like 400px, or a ratio like 50%.
To add multiple properties to an image, separate the properties with commas. This should look like:
{width: 400px, height: 200px}
Backlinks